Using FreeMarker Macros in Liferay Web Content - Part 2
Now that we have our FreeMarker macro library deployed (from part 1), let’s set up the web content structure, template and article to test our macro library. If you are unfamiliar with web content structures and templates you will want to read the Liferay User Guide on advanced content with structures and templates first.
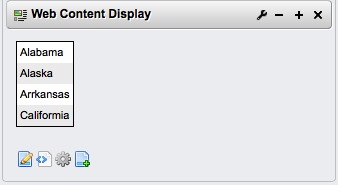
The end result will create a table with alternating color rows by calling a macro which does all the work and can be reused. It will look like this.
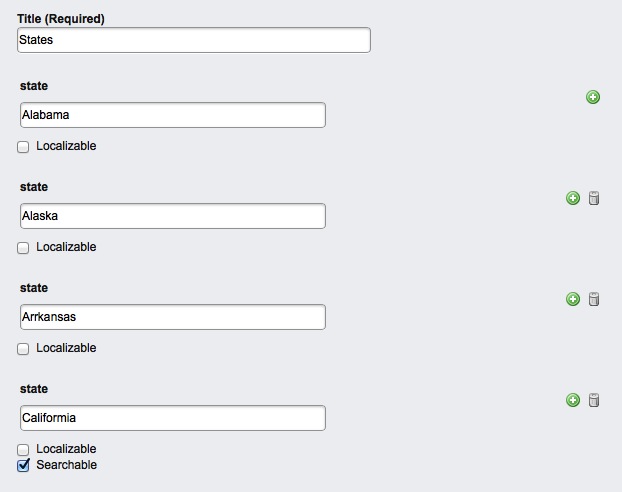
To start, create a structure. The structure will be a simple repeatable field.

For the template, we’ll include the styles in the template (just for the purpose of making this example simple to do).
Make sure you uncheck the Cachable checkbox and select FTL as the Language Type. Make sure you pick the structure, I sometimes forget to do that, when you create your template.
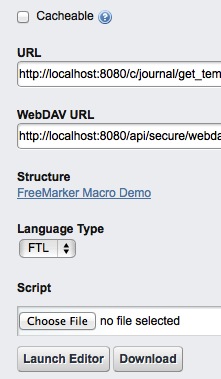
Then you can paste the template code into the editor box when you click on Launch Editor.
1 2 3 4 5 6 7 8 9 10 11 12 13 14 15 16 | |
So looking at the template, we see the styles definitions and this…
<@mylib.createTable items=state.siblings />
This is the macro call. It’s calling the createTable from the mylib file. You can have multiple macro files and the name of the file (without file extension) is used to namespace the macro. In our case the file name was mylib.ftl, so the namespace is myftl.
It’s calling the createTable macro and passing a parameter items with the value of states.siblings. This passes the repeating field states values to the macro.
You can read more about FreeMarker macros in the FreeMarker manual – macros section.
Looking at the template used below, there are actually two macros. One builds the table and calls the setRowColorClass macro in the same file. As it’s in the same file we don’t need to use the mylib namespace.
1 2 3 4 5 6 7 8 9 10 11 12 13 14 15 16 17 18 19 20 21 | |
Now create the content article and fill in some of the states,
At this point you should have the structure, template and article done. If you put the article on a page, you should see…
Now you can create and use your own FreeMarker macros and be more productive.